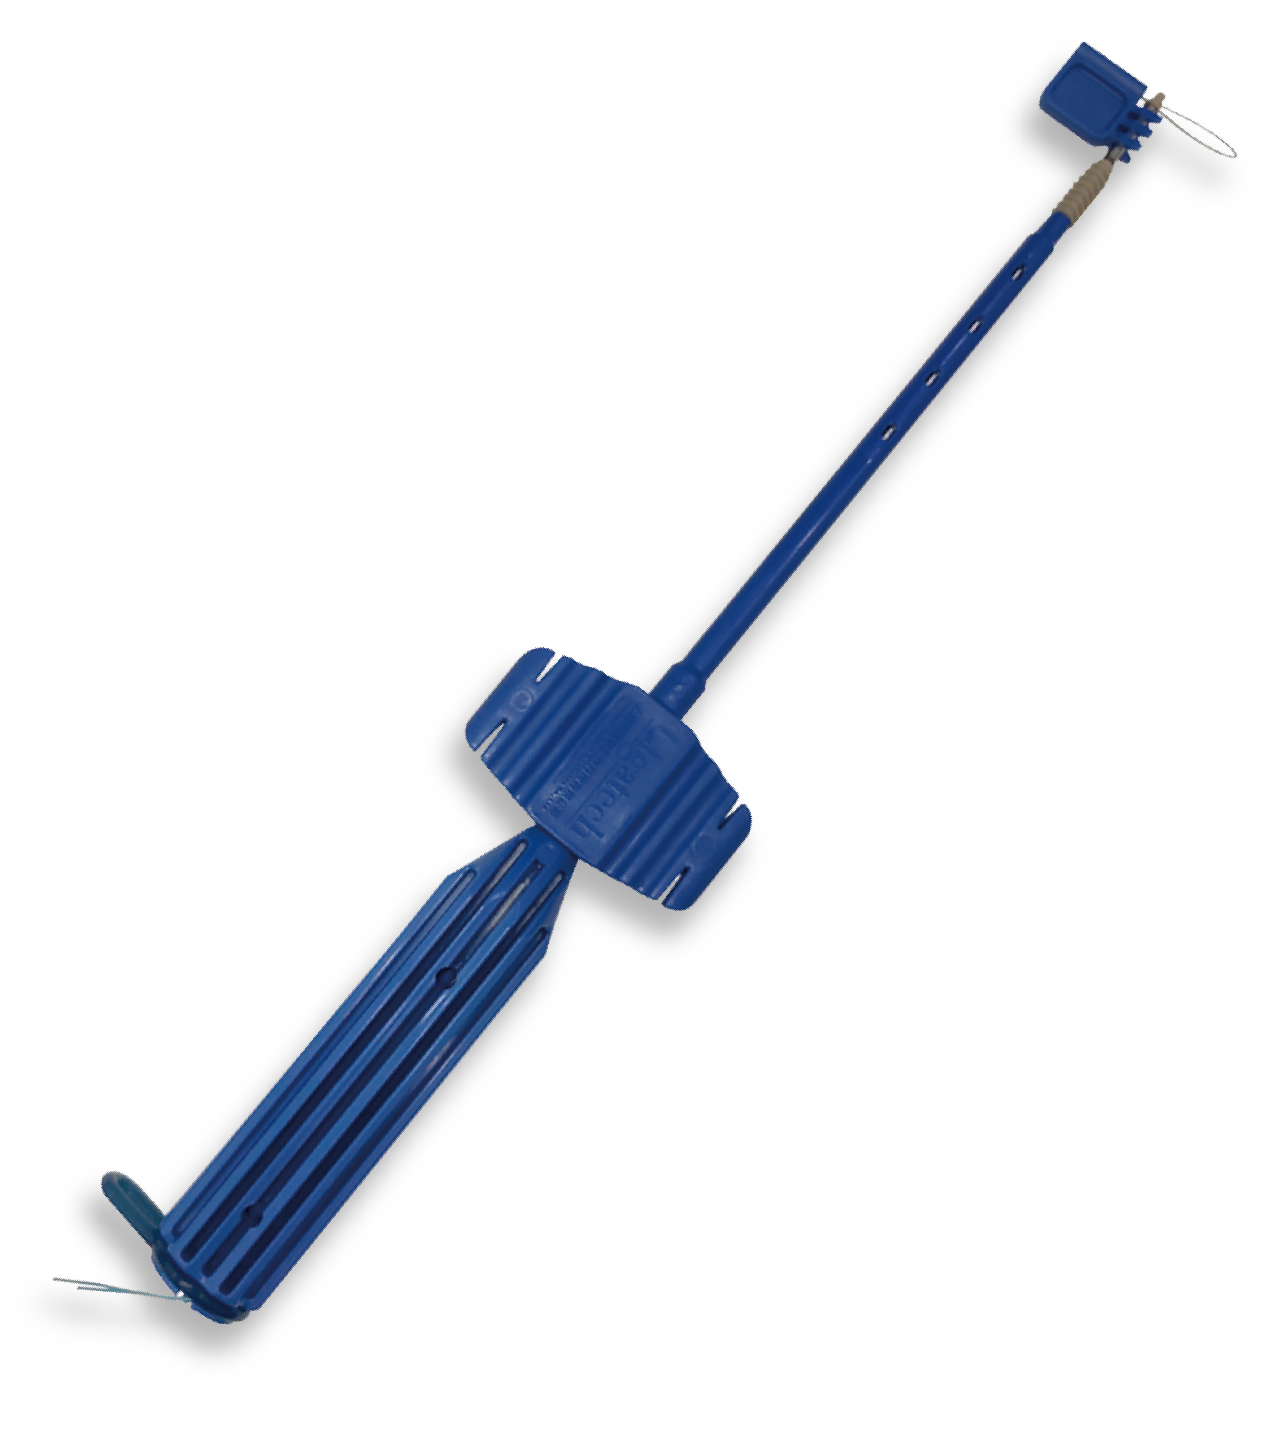


Procedure Overview
Double-row anchor repair increases the tendon-bone contact area and promotes tendon-bone healing.
With minimal knot tying and reduced suture cutting on the tendon, a transosseous-equivalent SutureBridge can be achieved, providing a fast, secure, and low-profile repair that maintains glenohumeral stability.
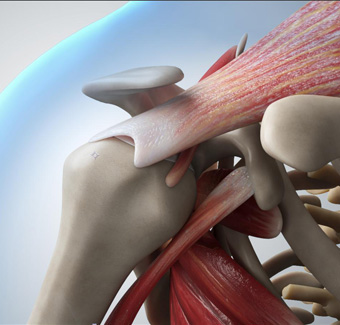
Core Value

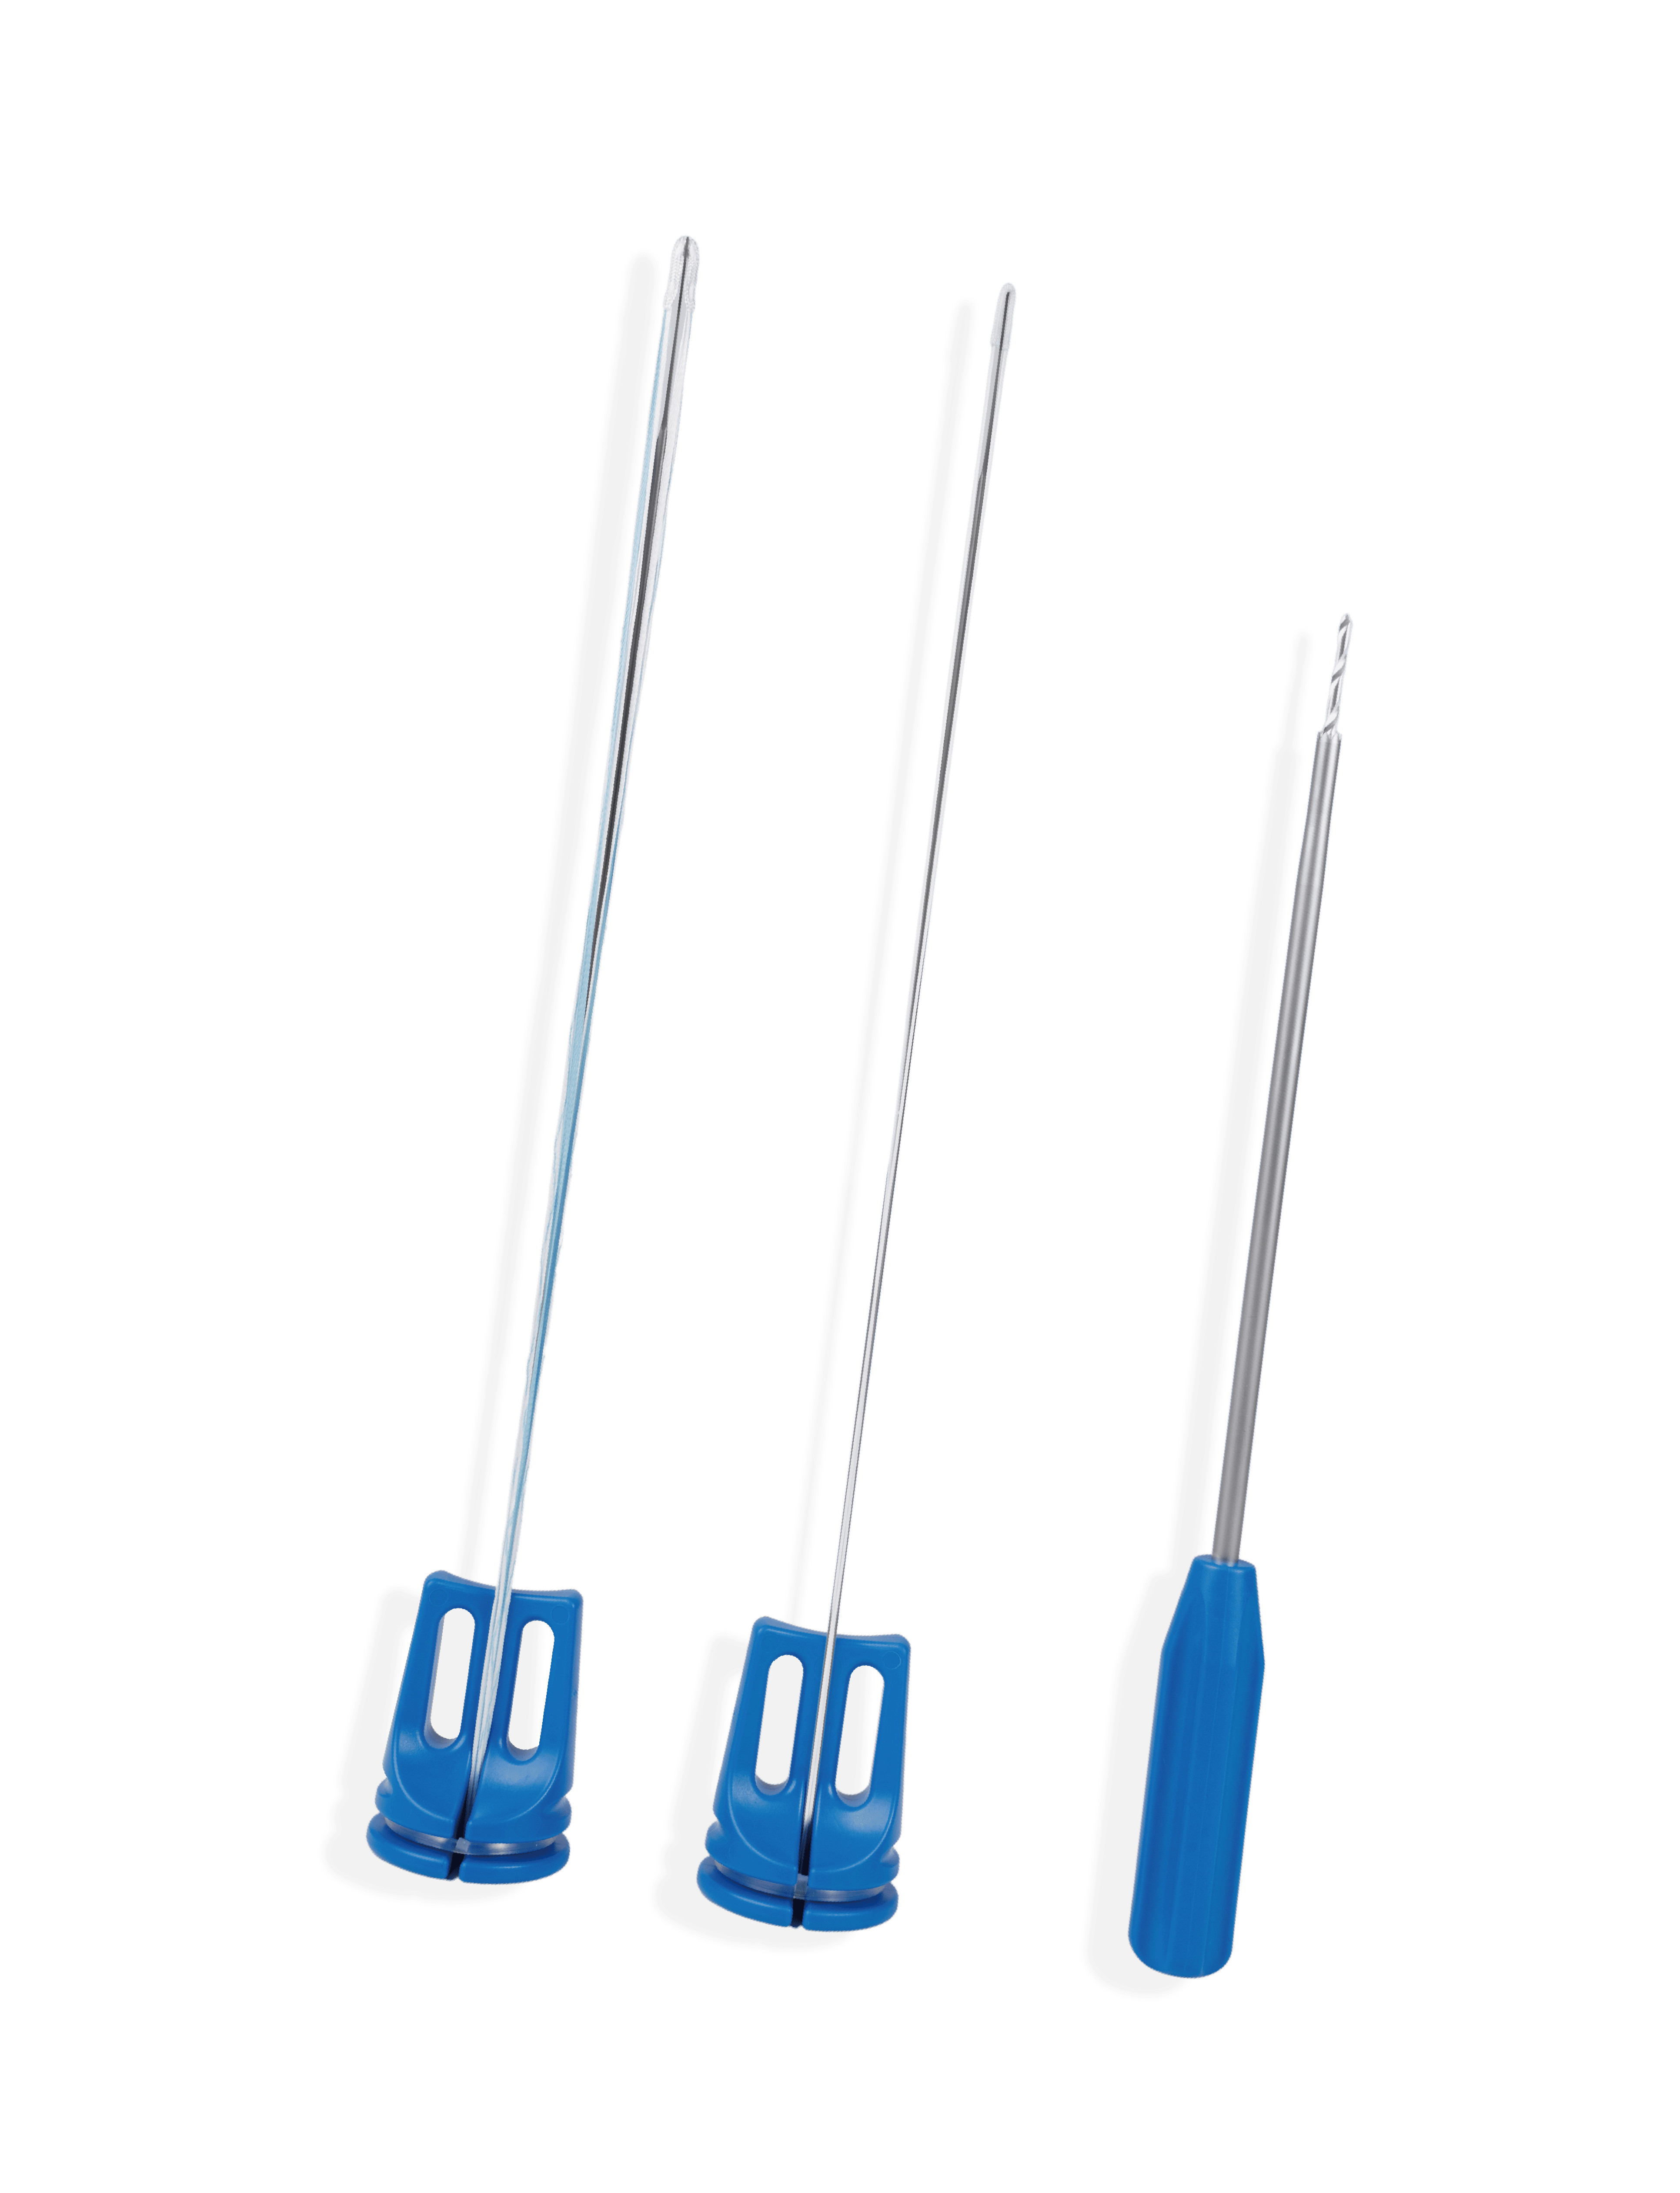
All-suture anchor (minimal bone tunnel)

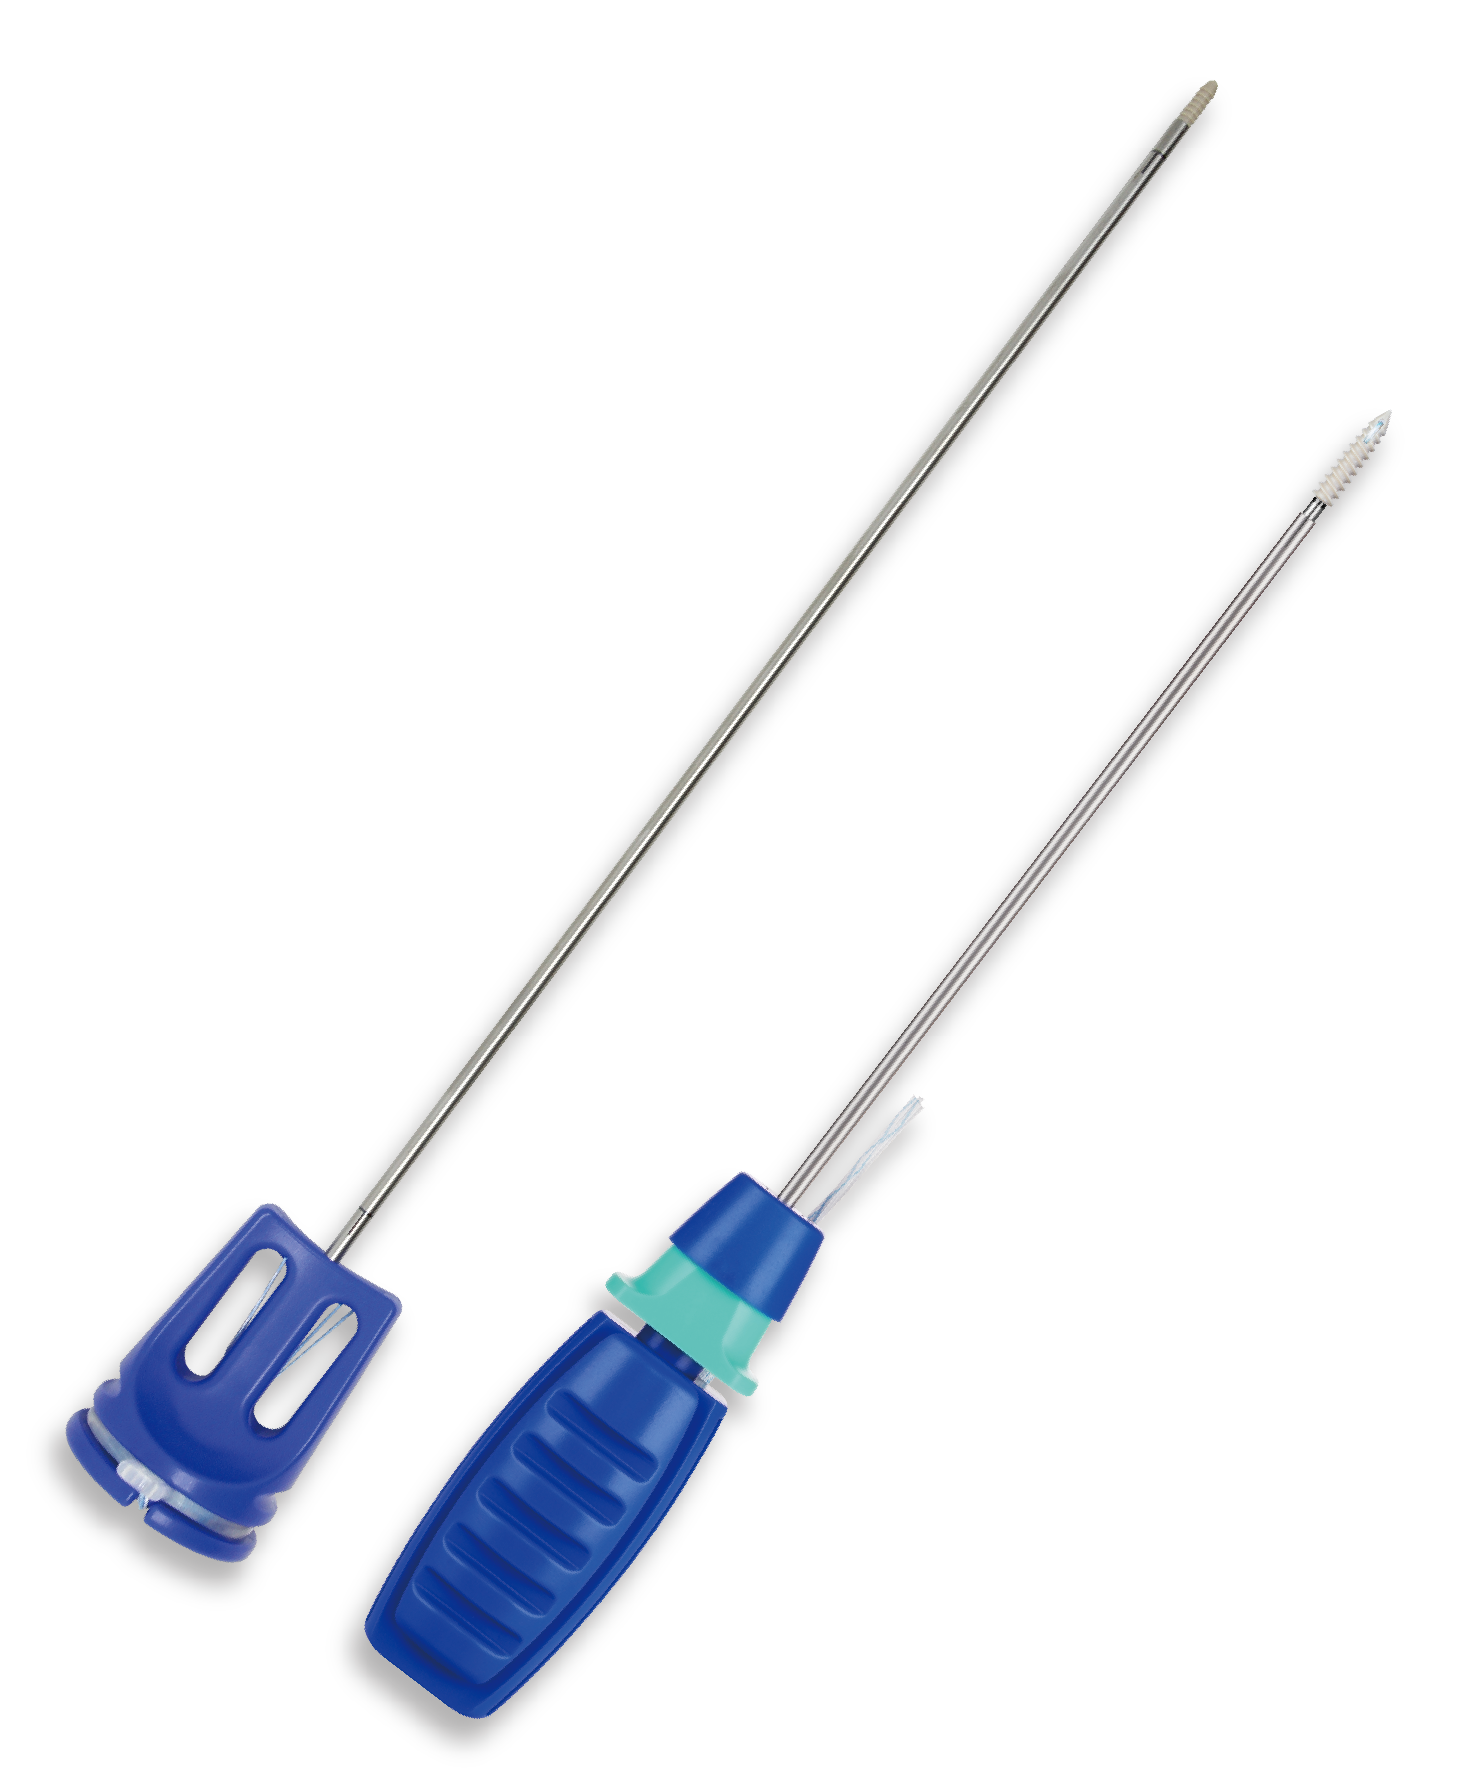
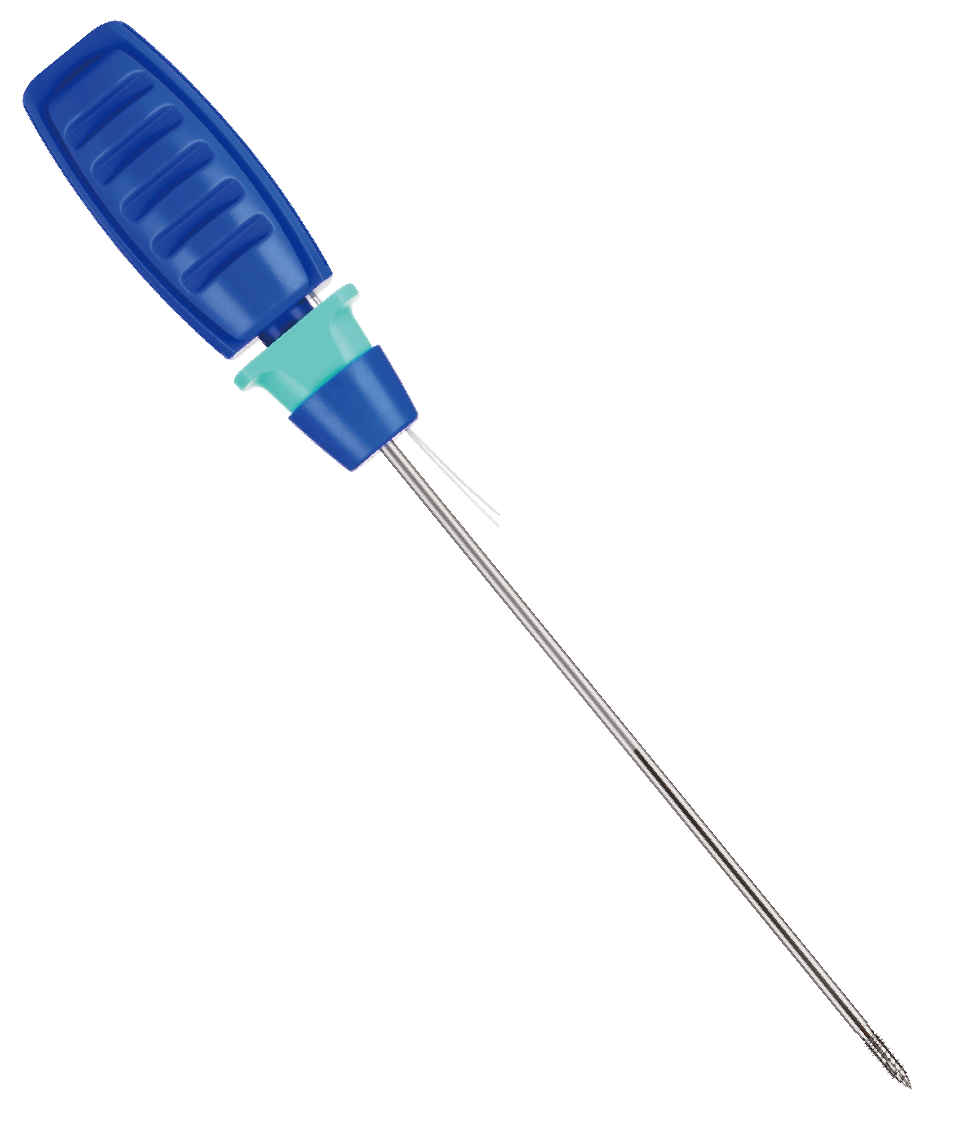
PEEK anchor (radiolucent)

High-strength suture
Academic Pain Points & Solutions
Academic Pain Points
Rotator cuff tear patients have limited bone stock, and large-volume anchors increase the risk of iatrogenic fracture
High rates of post-operative anchor loosening or re-tear
Metal anchors interfere with post-operative MRI evaluation
Ligatech Solutions
The all-suture anchor uses an M-shaped fold and round design requiring only a 2.5 mm bone tunnel, reducing bone removal
The all-suture anchor forms a reliable knot within the bone tunnel providing secure fixation; the PEEK anchor's fully threaded design offers high pull-out strength
PEEK suture anchors are radiolucent and do not affect post-operative imaging follow-up
Operation Process
01
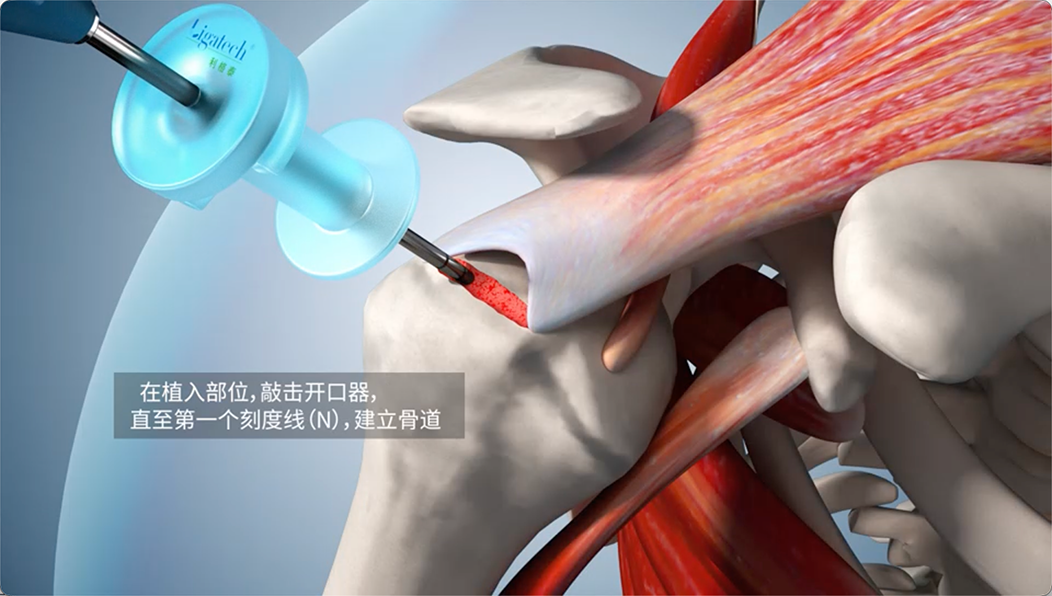
At the implantation site, tap the awl until the first scale line (N) to create the bone tunnel
02
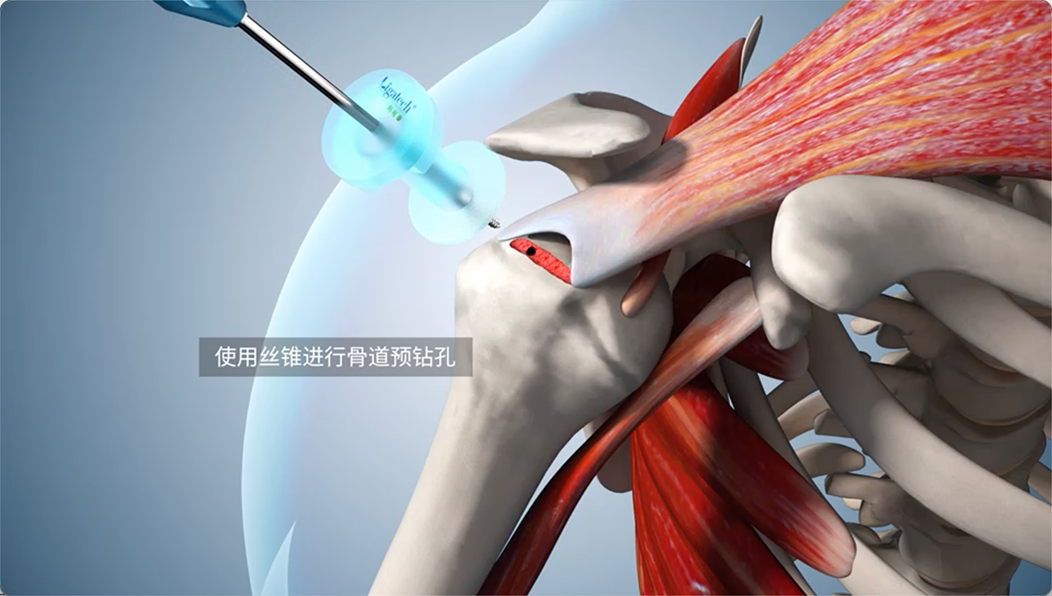
Use a tap for pre-tapping of the bone tunnel
03
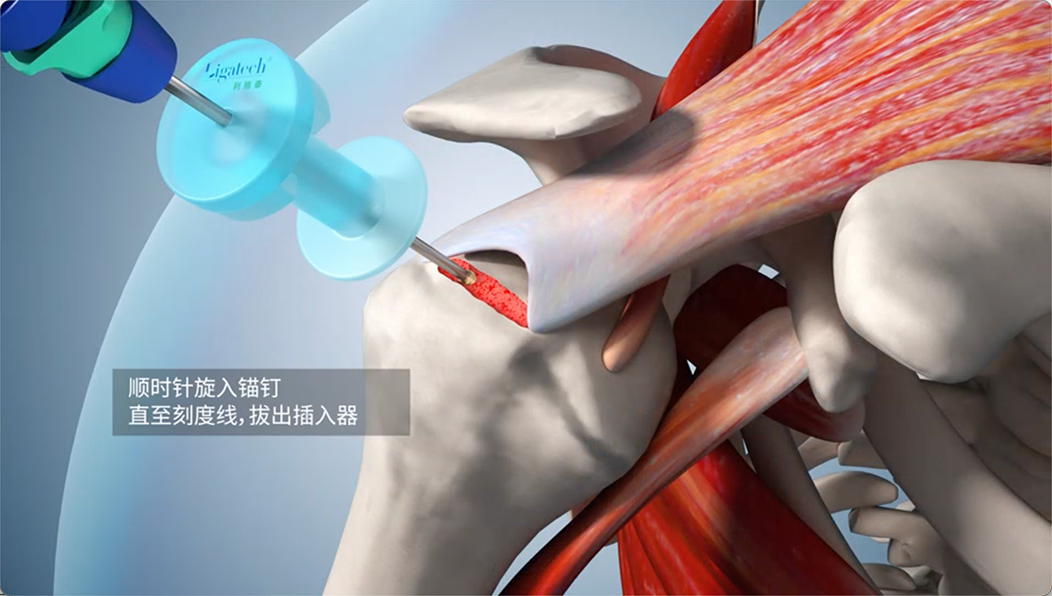
Screw the anchor clockwise until the scale line, then withdraw the inserter
04
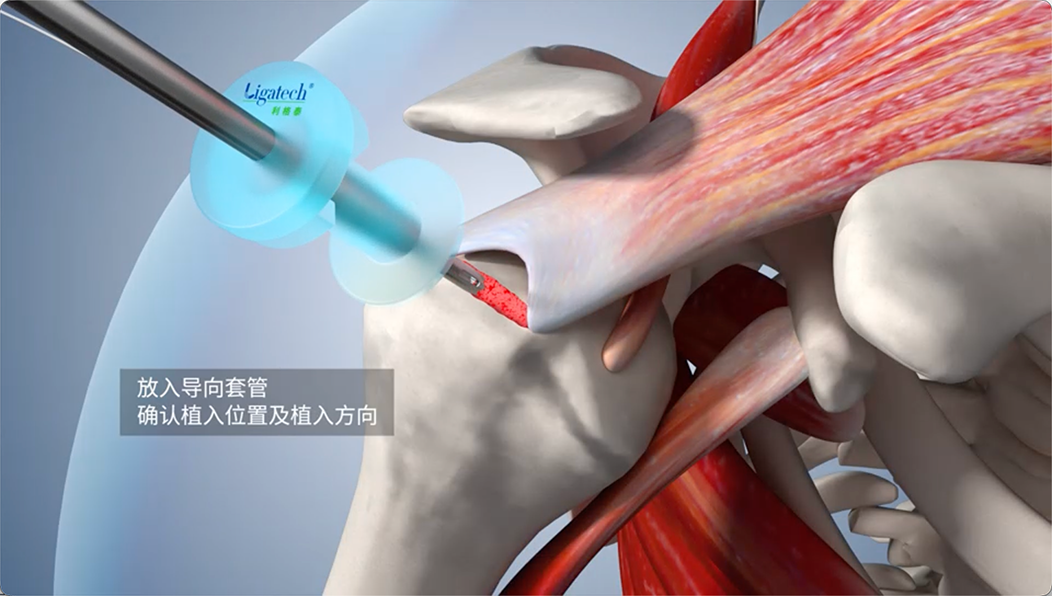
Place the guide cannula to confirm the implantation position and direction
05
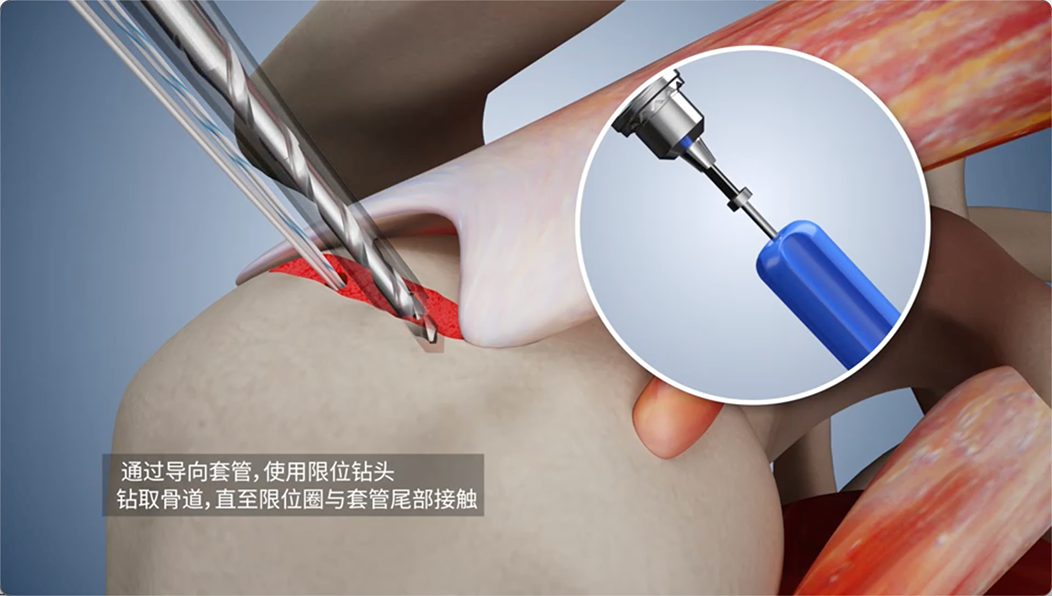
Through the guide cannula, use a limit drill to create the bone tunnel until the limit ring contacts the cannula tail
06
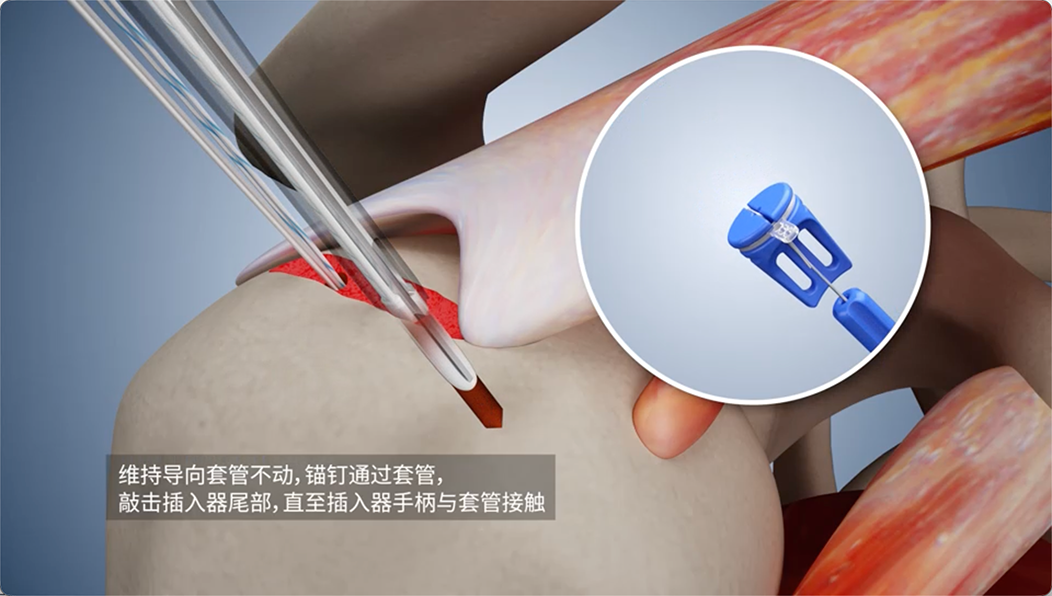
Keep the guide cannula stationary, pass the anchor through the cannula, and tap the inserter tail until the inserter handle contacts the cannula
07
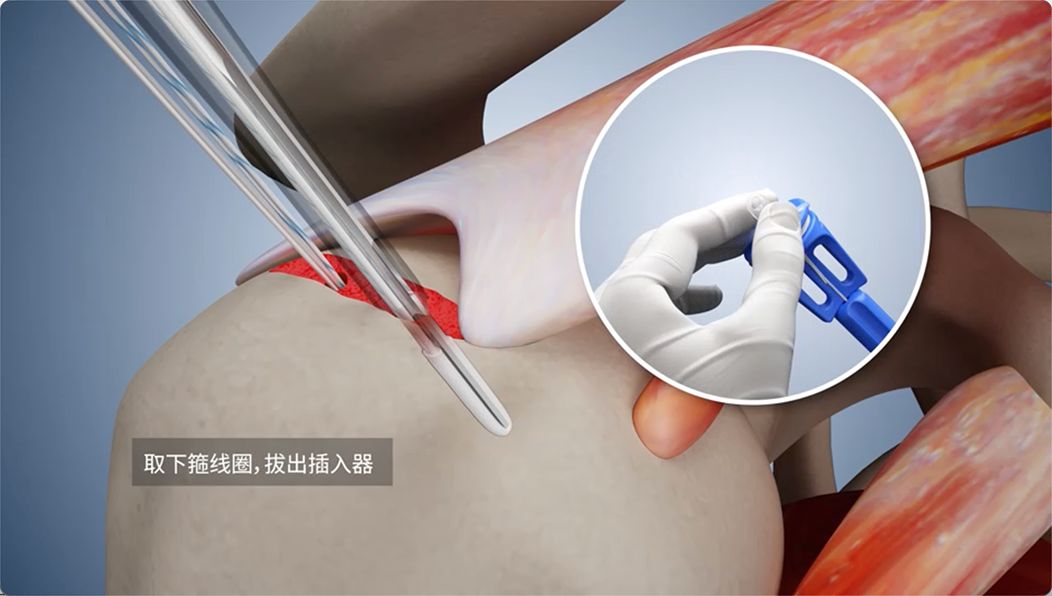
Remove the retainer loop and withdraw the inserter
08
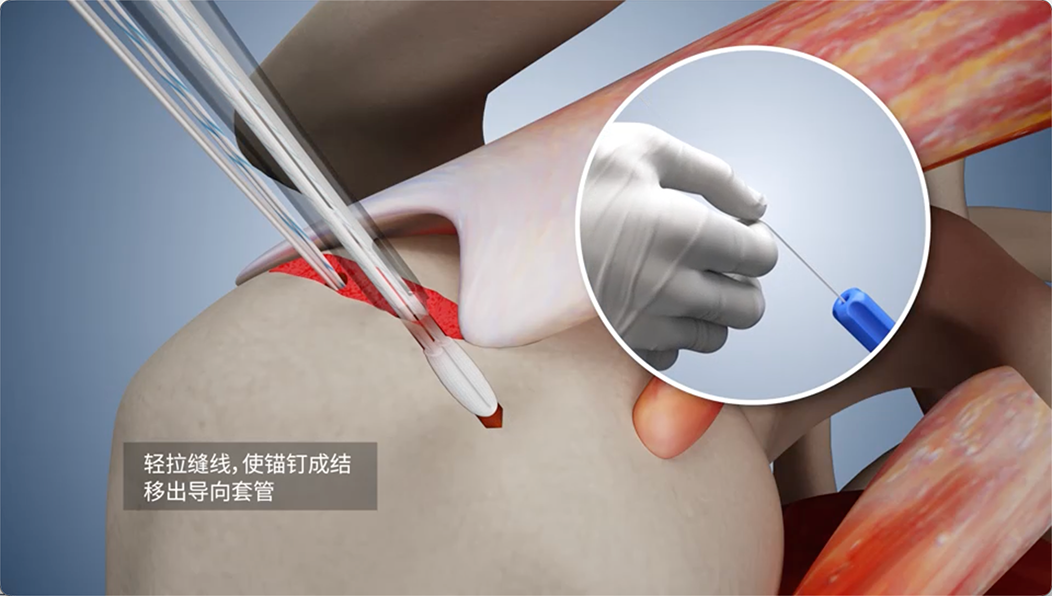
Gently pull the suture to knot the anchor, then remove the guide cannula
09
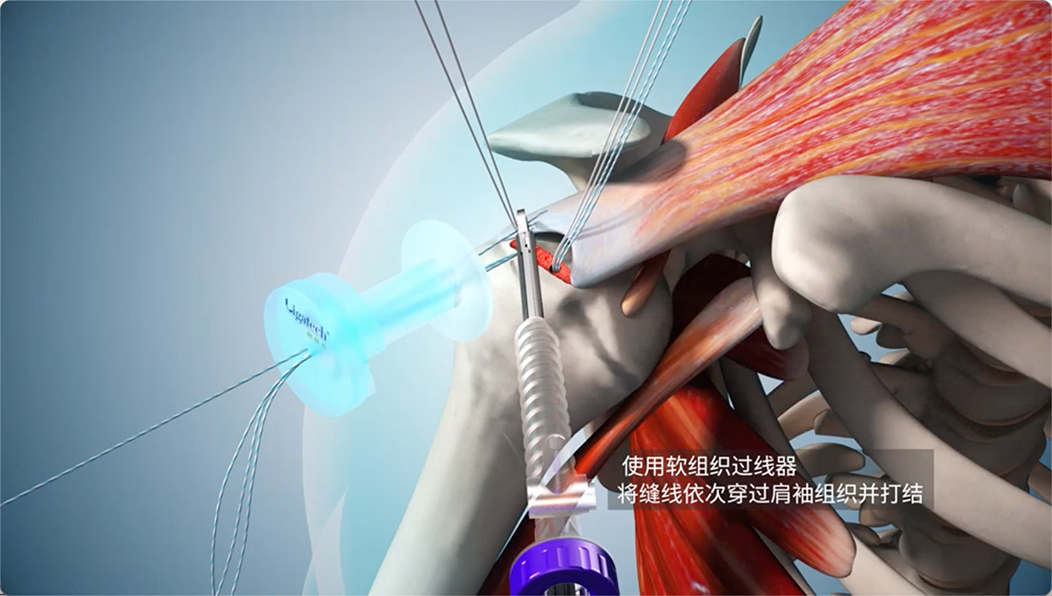
Use a soft-tissue passer to thread the sutures through the rotator cuff tissue and tie knots
10
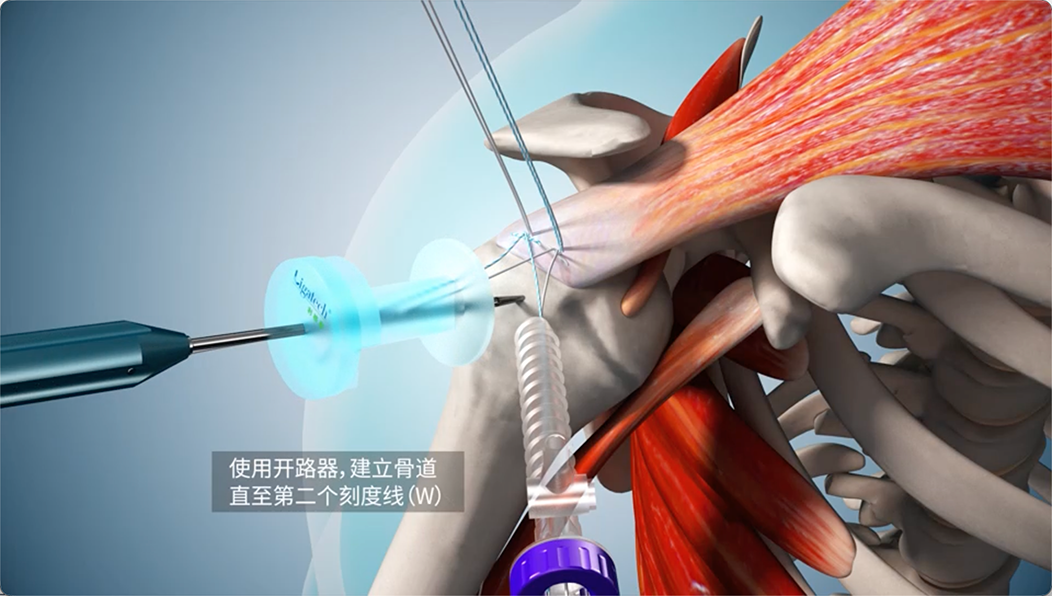
Use an awl to create the bone tunnel until the second scale line (W)
11
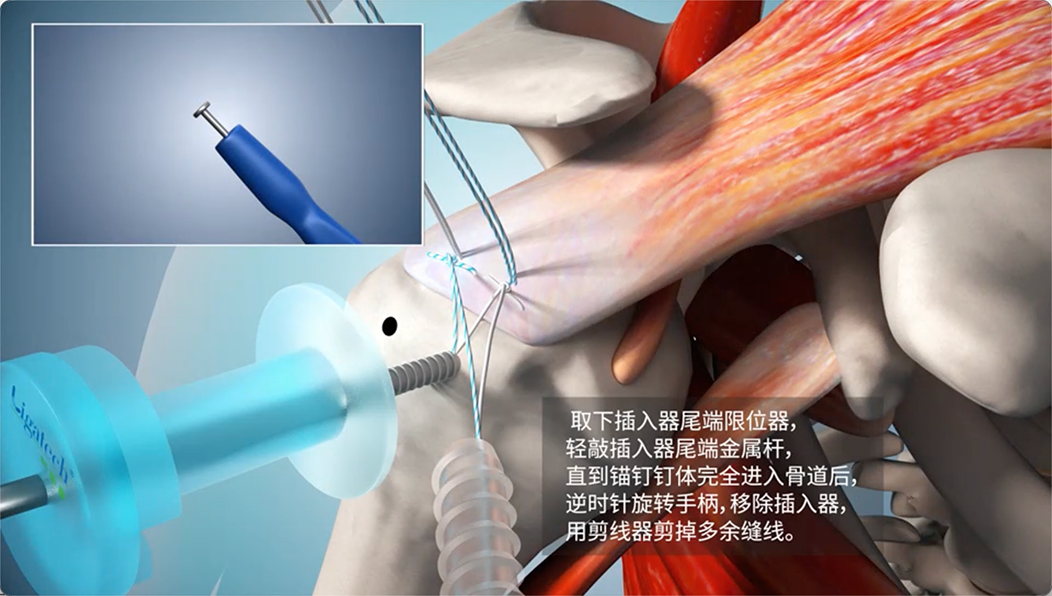
Thread the sutures through the head terminal of the lateral-row anchor, implant into the bone tunnel until the anchor body contacts the bone surface, and tension the sutures
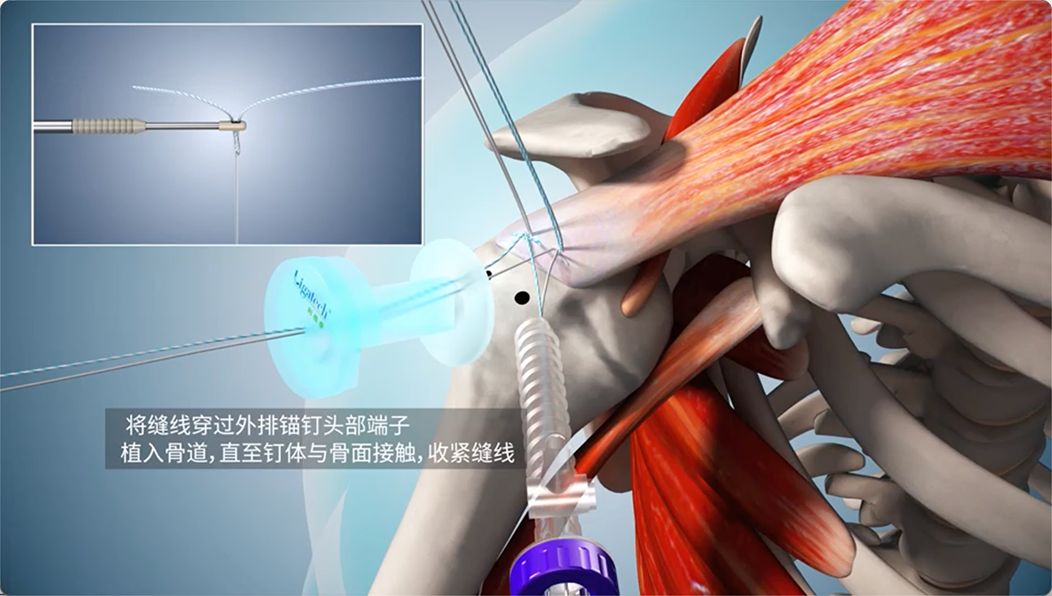
12
Remove the inserter tail stopper, gently tap the metal rod at the inserter tail until the anchor body fully enters the bone tunnel, rotate the handle counterclockwise to remove the inserter, and trim excess sutures with suture scissors.